
Learn how to make this delicious, probiotic rich, slightly fizzy drink at home! Milk kefir can be used in smoothies, as a culture for other ferments, and strained to make cheese. It is a great addition to any meal, or as a healthy snack or dessert for you and your family.
This post may contain affiliate links. Please read our disclosure policy.
What is milk kefir?
The word kefir, pronounced “kef-ear” in some parts of the world and “kee-fer” in others, comes from a Turkish word meaning “to feel good.” It is a long fermentation that results in a creamy, sour, and slightly fizzy drink.
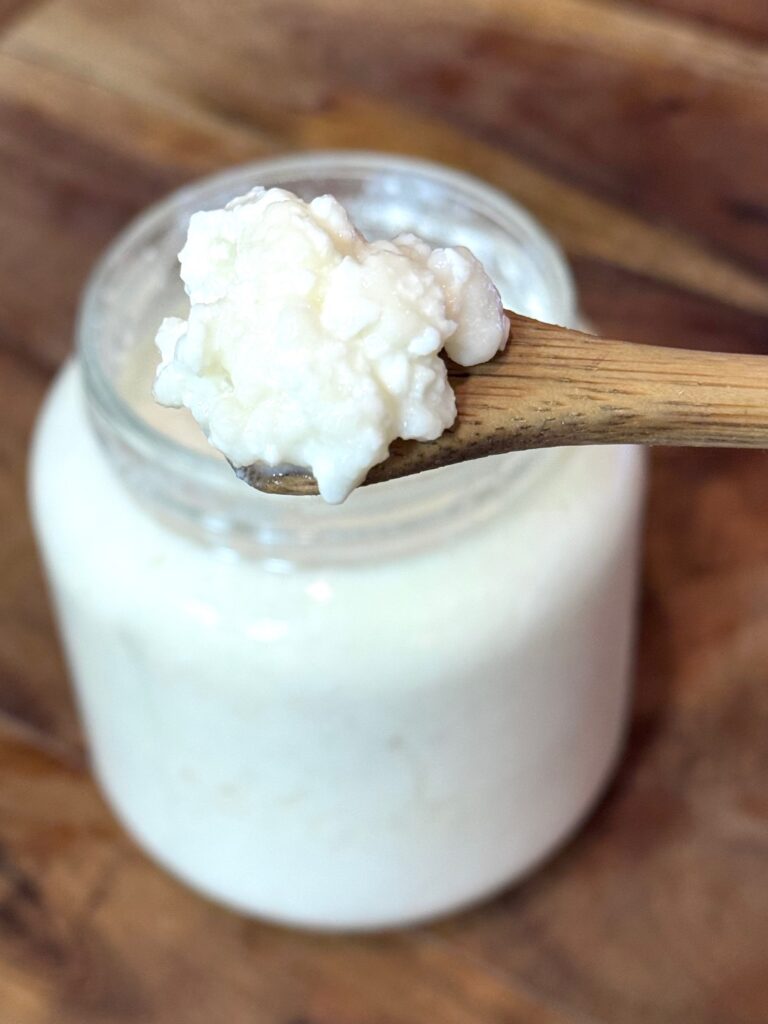
Milk kefir is made using milk and kefir grains, however they are in now way what would commonly be referred to as a grain. The grains are a gelatinous structure made up of a range of dairy-loving beneficial organisms that look like clumps of cauliflower.
Scientific studies have shown that kefir grains are made up of over 100 different bacteria and yeast species!
Where did milk kefir come from?
Kefir grains originated in the Northern Caucasus Mountains a few thousand years ago and it has been said that they are what the Old Testament refers to as “manna from heaven.”
Nomadic peoples used kefir grains to preserve milk over long periods of time and kefir making has been shown to be the oldest known means of transforming milk into a form of cheese.
Why You Will Love This Homemade Kefir
It’s an easy, delicious, and nutritious snack:
Firstly, kefir is delicious all on its own! It is creamy, slightly tangy, and effervescent. It’s also a great base to add other ingredients to, such as fruit, honey, and spices in a second ferment. You can also check out my other recipes for banana smoothies or strawberries and cream popsicles.
It’s healthier than store bought:
As kefir grains work to convert lactose in the milk into something more digestible, other beneficial compounds either increase or become more bioavailable. Most importantly, homemade kefir contains higher amounts of probiotics than store bought, as well as other nutrients such as folate, biotin, niacin, and vitamins A, B2, B6, and B12 and higher amounts of probiotics.
It’s easy to make yourself:
Lastly, once you get milk kefir grains, you can make batch after batch of homemade kefir simply but adding milk to the grains and leaving the milk out on your counter. It’s as easy as that!
Ingredients
Milk: you can use any kind of milk; cow’s, sheep’s, or goat’s milk, raw or pasteurized, whole or low fat. However, I prefer to use fresh, raw, whole milk and have been very happy with the end result. I do not recommend using ultra-pasteurized milk however because the structure of the milk and its proteins change as a result of the high heat.
Kefir grains: you will need to obtain milk kefir grains. This site is a great source! I also highly recommend checking to see if you can find grains locally; a herd share might be a good place to start, or Facebook Marketplace.
Be sure you are buying grains and not a powdered culture. You can re-use the grains over and over and they will multiply, where as the powdered culture will only make one batch.
Tools You Will Need
- Quart sized glass jar
- Wooden spoon
- Large bowl for straining (glass, ceramic, or stainless)
- Colander
- Smaller jars for storage
- Plastic lids
- A note on tools: when using metal, be sure it is stainless steel. Due to their acidic nature, kefir will react to other types of metals and possibly leach harmful components into the kefir.
How To Make Milk Kefir At Home
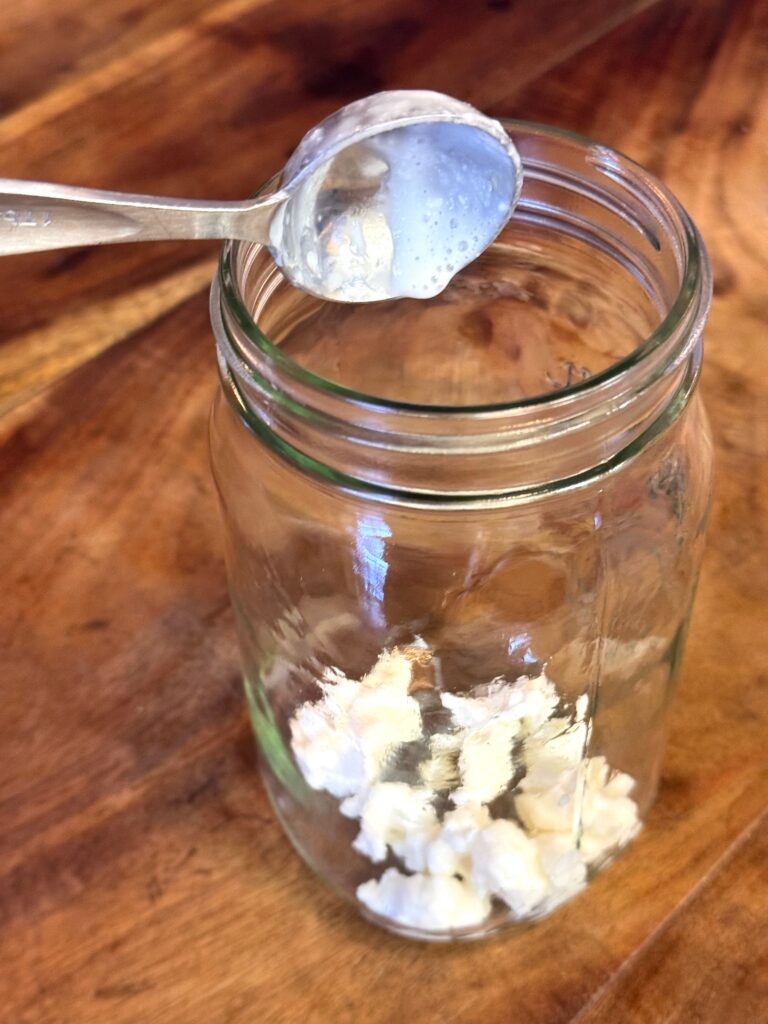
Step 1: in a clean, quart sized jar add four tablespoons of kefir grains.
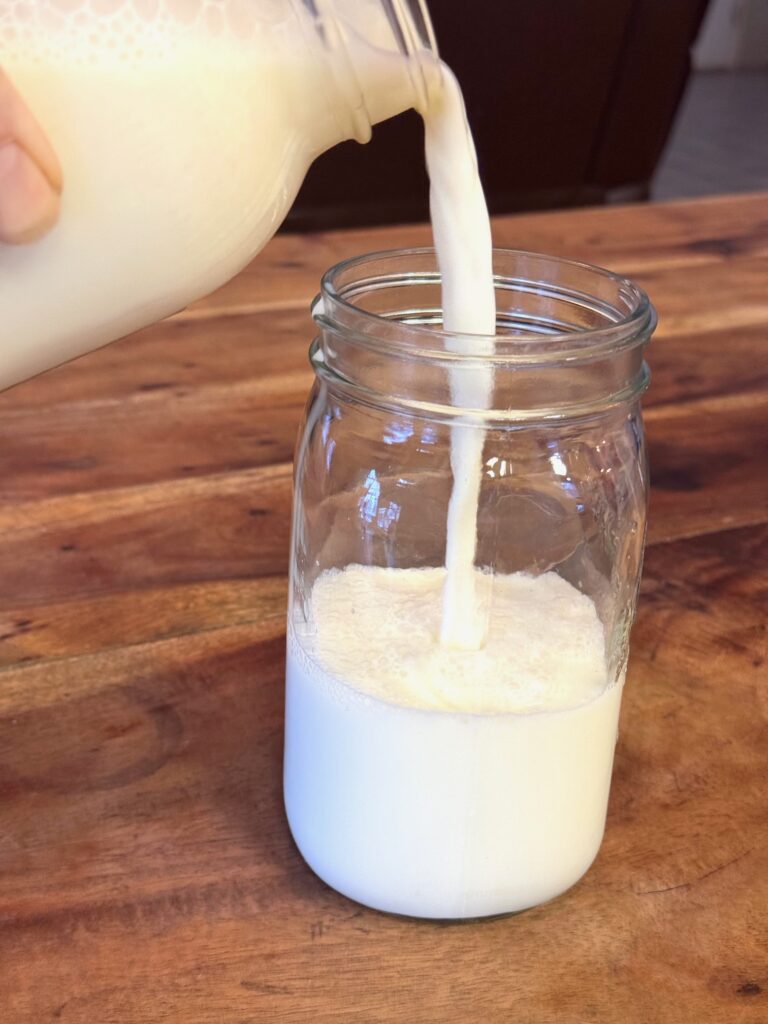
Step 2: Pour milk over grains and fill to just before the neck of the jar.
Step 3: cover the jar with a plastic lid and place on a countertop or in a cabinet, out of direct sunlight, for about 24 hours.
Let the milk sit at room temperature to culture. As the milk sits, the acidity increases, which will give the kefir a tangy flavor, and the milk will split into curds and whey.
As you continue to make kefir, your grains will multiply. Measure your grains every couple of weeks and find a use for the grains you don’t need. I like to gift kefir grains to friends, compost them, or feed them to my chickens or pigs. It’s good for their guts too!
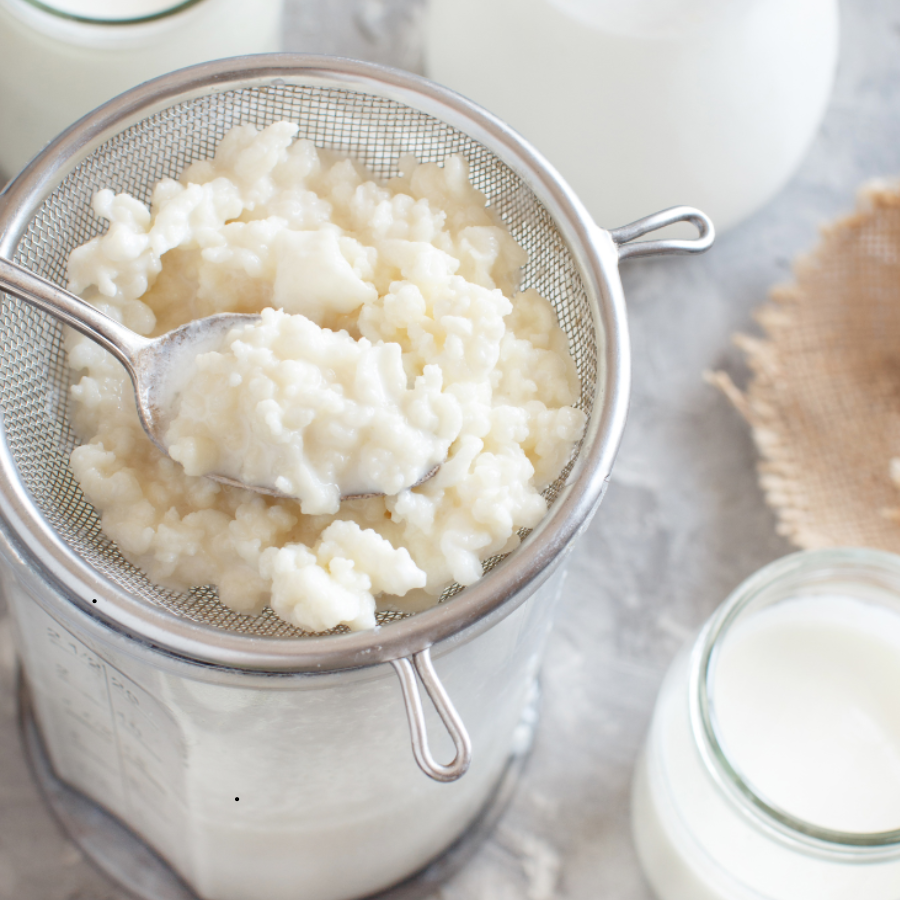
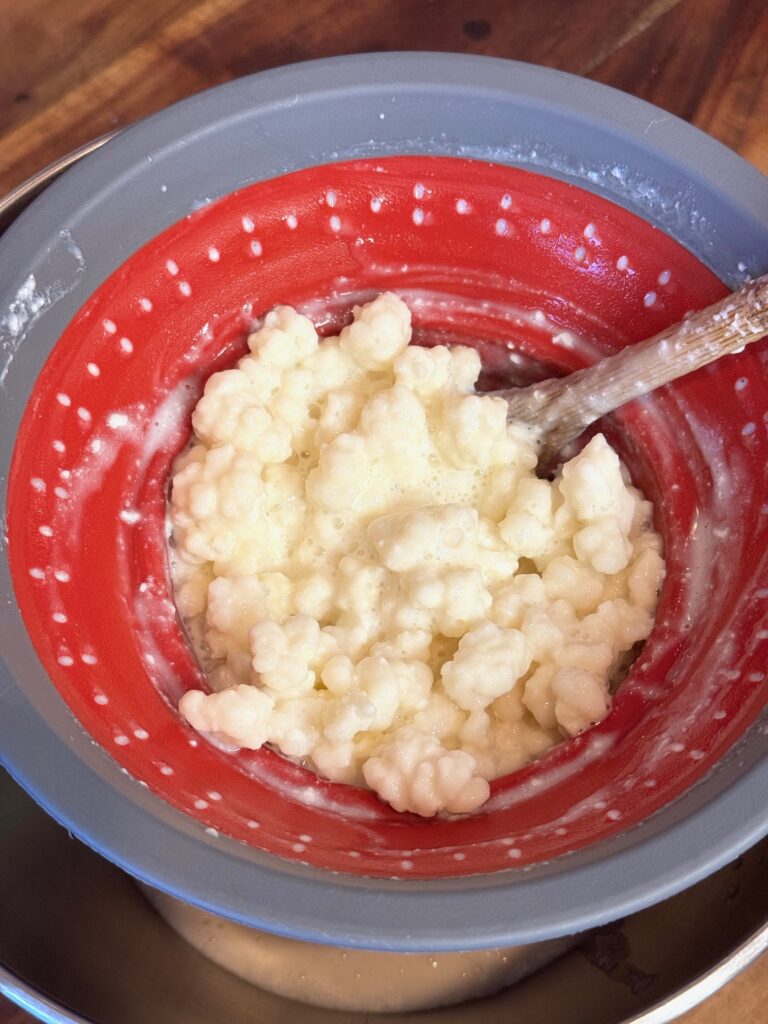
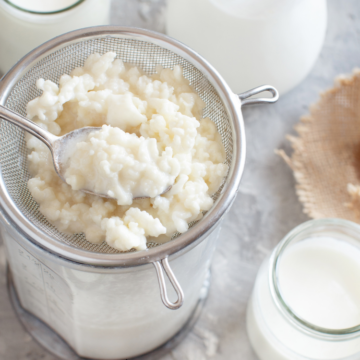
Step 4: after 24 hours, place a colander over a bowl and pour the contents of the jar into the colander. Using a wooden spoon, stir the mixture so that the thickened milk kefir strains through and you are left with the grains in the colander.
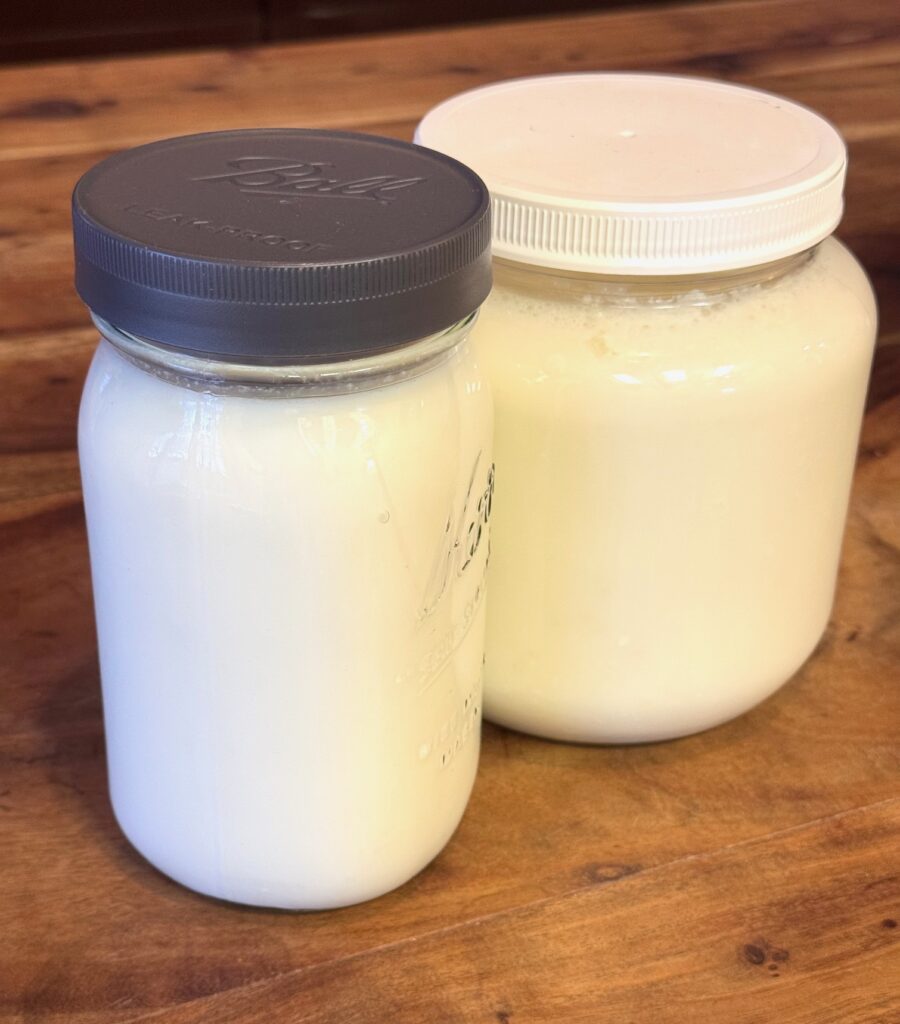
Step 5: Pour the milk kefir from the bowl into a clean glass jar. At this point you can drink as is, cover with a plastic lid and store in the fridge for 5-8 days, or check out one of my recipes for a second ferment below.
Step 6: Pour the kefir grains into a clean glass jar (no need to rinse). Cover with milk and let sit on the counter for 24 hours.
How to store milk kefir
Milk kefir will store in a glass container in the fridge for up to 8 days. It may separate while in the fridge, the whey can rise to the top, or sink to the bottom. If this happens, shake before opening.
How to take a break from making kefir
Once you learn how to make and use kefir, you will love how simple it is to keep going! BUT, we all know that life happens. We take vacations, or something comes up where we know we will not be able to process kefir for a few days. Do not worry! Milk kefir grains are very forgiving.
A Short Break:
If you need to take a break for up to one week, simply strain the grains, place in a clean glass jar, pour fresh milk over the grains, cover with a lid, and place in the fridge. When you are ready to start again, pull the jar out of the fridge, place on the counter for 24 hours, and strain as usual.
A Long Break:
If you need to take a break for up to one month, strain the grains, place in a clean glass jar, pour fresh milk over the grains, and cover with a lid. Place the jar in the fridge for up to one month.
When you are ready to start again, pull the jar out of the fridge. If there is a layer of white mold on the top, discard the mold. Then strain the grains, place in a clean glass jar, pour milk over the grains, cover with lid, and place on the counter for 24 hours. Continue as normal.
You may need to repeat the process of straining, covering, and sitting a few times before the kefir is back to normal.
A Longer Break:
If you need to take a break for over one month, strain the grains and rinse with water. Spread the grains in a thin layer and dry out or place in a dehydrator. Once the grains are completely dry, store in a glass jar that is labeled.
When you are ready to start again, place dehydrated grains in a glass jar and pour milk over them. Repeat the process as normal. It may take 2-3 weeks before the kefir is back to normal.
Easy Homemade Milk Kefir
Equipment
- Quart sized glass jar
- Wooden spoon
- Large bowl for straining glass, ceramic, or stainless
- Colander
- Smaller jars for storage
- Plastic lids
Ingredients
- 4 Tbsp Kefir grains
- 1 Qt Milk fresh, whole, milk (not ultra pasteurized)
Instructions
- Add grains to quart sized jar.
- Pour milk over the grains and fill the jar to the neck.
- Cover with a plastic lid and let sit at room temperature, out of direct sunlight, for 24 hours.
- After 24 hours, place colander over bowl and pour the contents of the jar into the colander.
- Stir with a wooden spoon so that the milk kefir strains into the bowl and the grains are left in the colander.
- Cover jar with a plastic lid and store in the fridge for 5-8 days.
- Pour the kefir grains into a clean quart sized jar, cover with milk and repeat.
Notes
- Once you pour the milk kefir out of the bowl and into a jar it can be enjoyed immediately or stored. If you would like to try a second ferment check out my recipes here!
- If you prefer a tangier tasting kefir let sit a few hours longer.
- When you find yourself with more kefir grains than you need for this recipe gift them to a friend, feed them to animals, or add them to your compost pile.
Leave a Reply